How to…
Print prototypes for product development
By Gary Fletcher, Imperial College Advanced Hackspace Fellow, and Alex Gibson, 3D Printing Consultant and Guest Lecturer at Imperial College Advanced Hackspace
3D printing has revolutionised the prototyping and development of physical products. With limited experience, you can rapidly create models or even small-scale production-runs of products with a very quick turnaround from design to realisation.
For the development of new products or the improvement of an existing design, prototyping by 3D printing is an ideal technology. Custom enclosures or cases for products, bespoke prototype medical devices or even entire functional assemblies can be rapidly produced and assessed, for example.
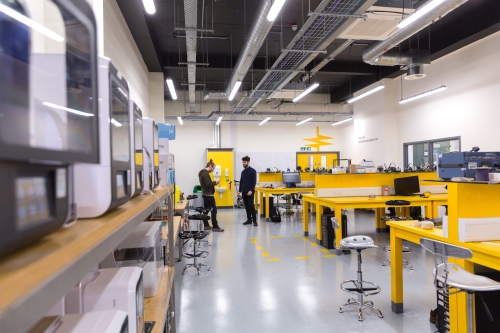
While the cost of purchasing and operating 3D printers may be prohibitive, a number of makerspaces or hackspaces host the technologies for you to use. Imperial operates its very own hackspace. The Imperial College Advanced Hackspace, located at White City, has a suite of more than 20 3D printers and is accessible to all enrolled students and staff.
Hackspace offers all members resources and introductory courses covering all aspects of product prototyping by 3D printing, including design using Computer Aided Design (CAD) software, preparation of models for 3D printing, and setup and use of 3D printers.
A basic understanding of the possibilities of 3D printing can be gained by navigating the designs made freely available on 3D file sharing sites such as Thingiverse.com, Youmagine.com and more. Downloading existing 3D-printable files from these sites is an ideal starting point. Some designs may be shared with liberal open source licences, allowing them to be freely used. If you do intend to use an existing design, ensure you check whether you need the designer’s permission to use them commercially, and consider whether you can contribute any less-sensitive parts of your own design back to the online community, perhaps with a ‘non-commercial’ licence if you plan to exploit it yourself.
Step 1: Design
While existing 3D models may form the basis of a product, it will become crucial to develop novel designs, especially when intellectual property is a concern. Operation of CAD software is essential for this. We recommend Autodesk’s Fusion 360 (the licence terms are generous, with free licences not only for students but also startup businesses); there is a relatively shallow learning curve, but the software is incredibly powerful once learned. There are also extensive online tutorials on the Autodesk YouTube channel with many step-through guides.
It is advisable to start with relatively simple designs to become familiar with the workflow, but these will quickly progress with experience. Designs do not have to be perfect – it can be more important to rapidly iterate designs to determine important features and unforeseen problems early in the process. Once a design is ready, it can be exported as a 3D-printable file. The basic, universal format of 3D-printing is an .STL file
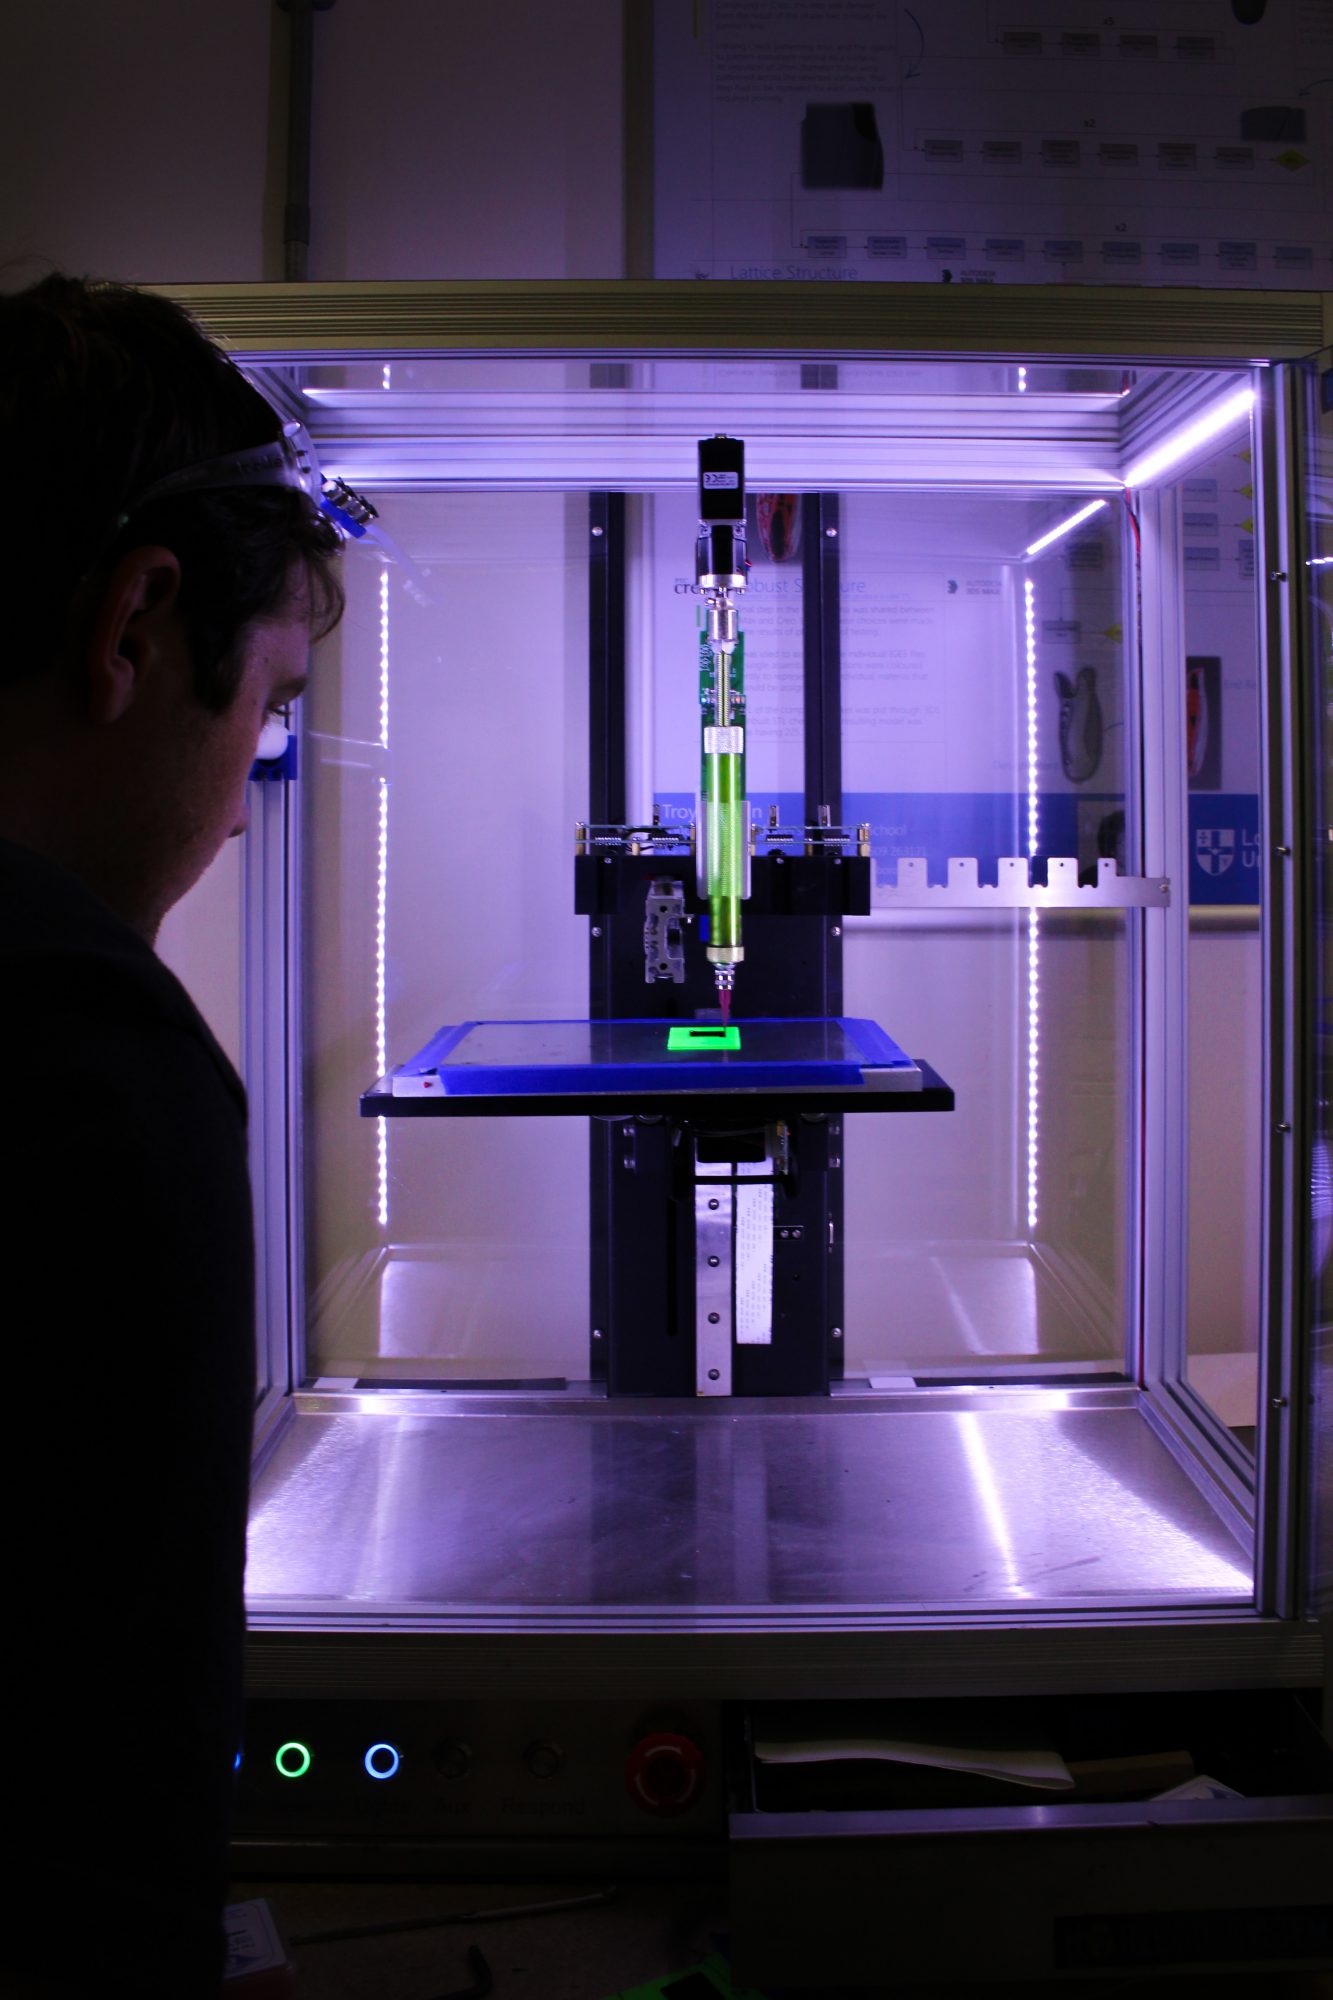
Step 2: Print
The 3D printers at Hackspace are essential for the next part of the design process. Each 3D printer has its own version of a ‘slicer’– software that takes a 3D model and slices it into a stack of 2D layers. This is fundamental to the operation of 3D printers – the 2D layers form the instructions for the printer to make the object. An understanding of how to operate the slicer software is important – the Hackspace community offers support and introductory classes for successful print setup.
There are a number of 3D printing technologies available at Hackspace – the majority of the printers utilise plastics but there are also specialist printers with the capability to produce highly detailed parts, including with biocompatible resins and carbon-fibre reinforced composites. As multiple iterations of any design will be required, it is logical to use cheap materials for initial designs. Plastics are ideal for the earlier stages of prototyping. When a part needs to fit existing items, such as a circuit board or bike frame, it is very likely the first iteration of the design will not be perfect.
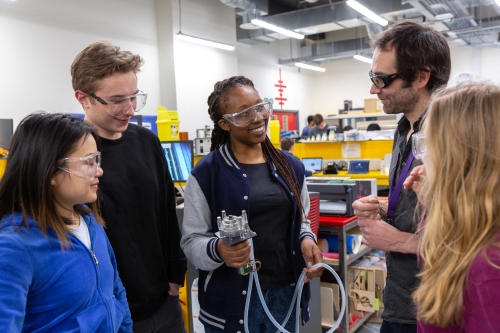
Step 3: Evaluate, iterate and collaborate
Once a design is established, more specialised materials can be considered for increased detail, beneficial material properties or increased strength. Alternatively, designs can be outsourced for low-volume manufacturing runs with quality control. Outsourcing specialist 3D printing (for example, metal printing) to online bureau 3D print services is also a possibility for more advanced projects, but an understanding of the technologies is, once again, essential for success.
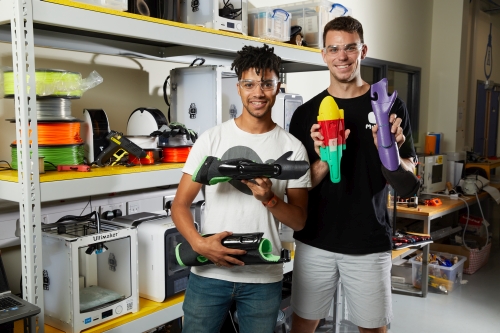
As many would testify, examples of proposed designs and products bear significantly more weight when presented as physical objects as opposed to renderings or CAD designs. Producing professional-grade physical products in high detail and full colour to investors, board members or the public is essential.
Originally published in issue 2 of D/srupt, Imperial’s magazine for student innovators and entrepreneurs.
More from Hackspace
Discover what’s going on at the Hackspace.
Read our success stories
Work with us