A beginner’s guide to rapid prototyping
Hannah Cameron, former Hackspace Associate and now CDT Education and Liaison Manager.
“If you’re failing, you’re doing something right!” Hannah Cameron, former Hackspace Associate on getting started with rapid prototyping.

Hi Hannah, can you give us a beginners’ explanation of “rapid prototyping” and why you might want to build a prototype?
Prototyping is the idea of making something kind of rough and ready, and rapid is obviously doing that really fast. A prototype is a very powerful tool to sell your idea; companies might make one in order to showcase what their product is before the product is on the market, giving them valuable customer feedback and potential to improve the design.
If you are looking for investment, it can be quite difficult to get all your design considerations across with pen and paper – you might instead want to hand them something that’s much more versatile so that they can see what it’s going to look like, feel like, the size of it. You can receive a lot more engagement with a prototype. You are more likely to get investors interested in you and believing you have thought through the design process.
Other reasons? Well if you have drawn something how do you know that the drawing works in 3D, for example? You can usually draw anything you like in software, in a digital design environment, but how do you know that what you have made actually works in 3D without applying gravity or physics? And further down the line you might want to understand whether it is even fit for manufacture?
I’m brand new to rapid prototyping, a complete beginner! But I want to see an idea I have in real life. What would be the quickest and easiest way for me to get started?
Once you can visualise the thing you want to make in your head, you actually know a whole lot about the product. If you took your idea right now and went over to some clay you could probably make it. Building with your hands is quite natural and familiar. You could use the cardboard packaging that you have at home to build out something rather big, use tape – gaffer tape, I fix loads of things with gaffer tape! Blu tac, Play Doh, Lego – all low-cost, easily accessible protoyping materials to get started with, and to visualise something fast before moving on to upskilling on new machinery or processes. I think it is a case of working with what is familiar to you and getting started with that. And not thinking that because you have made it out of Play Doh or clay or Lego, that it’s a failure – it’s not a failure in any way, that’s just the start and you are going to improve and iterate from there.
So, I wouldn’t necessarily need to have any knowledge of a certain machine or equipment to get started prototyping?
No not at all! You can make it with anything you have lying around your house. If you needed something really tall you could tape something to a ladder or a broom and suddenly you have the structure that you need to visualise what it is that you are making – how it feels, what it looks like, the size of it etc. And then use that to inform your designs digitally to make improvements and alterations next time.
We are talking a lot about hardware, what’s the difference between hardware prototyping and software prototyping?
If you are making software you can still do rapid prototyping. You may have seen a wall of post-it notes on tech company’s walls on TV. That is often what a wireframing prototype can look like. There is a lot of support out there for app design – one of them is called Pop – you can use them to take photographs of your sketches, create buttons that will take you through your sketches so it behaves like a real app but just drawn with your hands.
Do you think that perhaps the main barrier to getting started is keeping your ideas in your head?
Absolutely, start something that you do not have finalised in your head. As unfamiliar as it sounds, it’s really important to start. Get your initial idea out on paper, get it out in materials, hardware, software, whatever is it that you are making – just try it! And see what it does, because if you want to show it off you are going to drive yourself crazy before you get there. You might also need to learn a whole host of new skills before you get to that build point. Getting to perfect takes too long. What if you build the “perfect product” and realise it’s actually not that appropriate to the audience you had in mind? There is no point to that, you just have to get it all out and see what works and stick with that, and throw away everything that doesn’t.
Do I need to be an expert to get started?
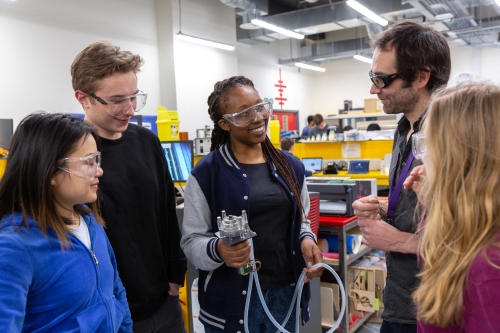
No, you don’t need to be an expert in everything. Get your idea out in the world and then if perhaps you don’t have knowledge of a certain programme or a tool you need, you can assemble the team around you who will be able to provide that expertise and knowledge of applications. Also, ask people how they feel about your prototype, see how they interact with it. It is nice to show people who have different skills to you, so they can give you tips on how to design it better/more efficiently/cheaper.
And personally, would you put any time limit on rapid prototyping? How rapid is rapid?
The first one you do is rapid, and then you need to go through the process of refinement and iteration. You are going to review it and then prototype again and keep going through that process of iterating again and again and again. And I guess in that way, it’s not rapid in the sense that from first prototype to final product it could take you months or years. But each individual prototype that you are making is rapid in of itself, each change you make is rapid, but you may need to make hundreds of changes over the course of your making journey.
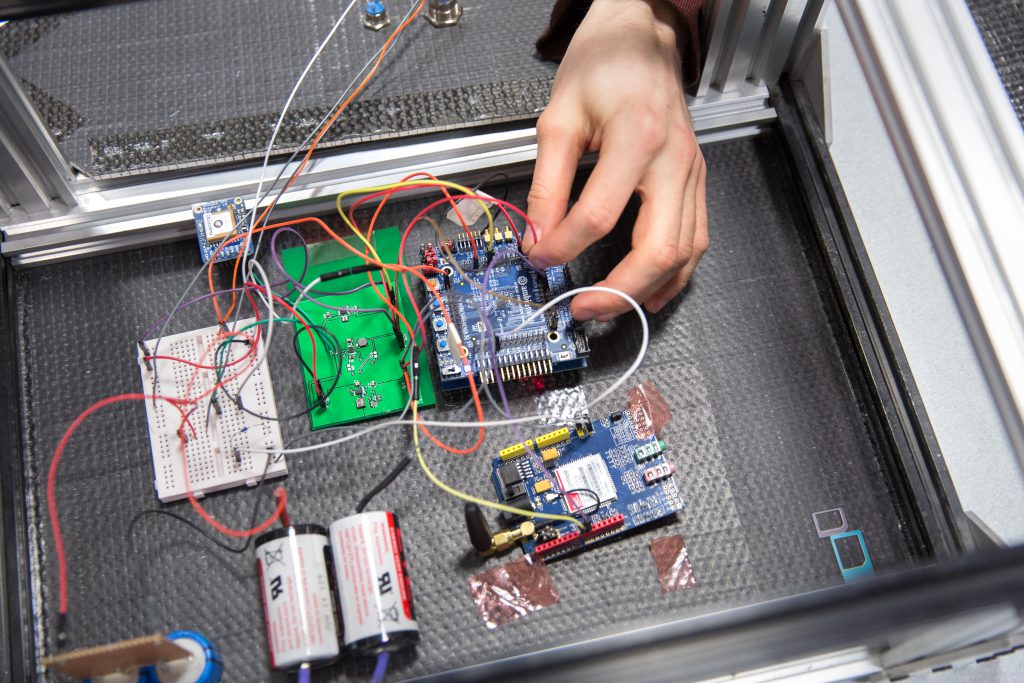
For example, building something like a robot might take a really long time to get all the components together, so the first iteration of that might just be making the LED turn on or making the motor work so there is movement, and then building from that. You might build some cardboard around it to make the shell and then continue to change the hardware inside, until eventually the cardboard shell is made from 3D printed parts. This is just an example, but all of these changes would take time.
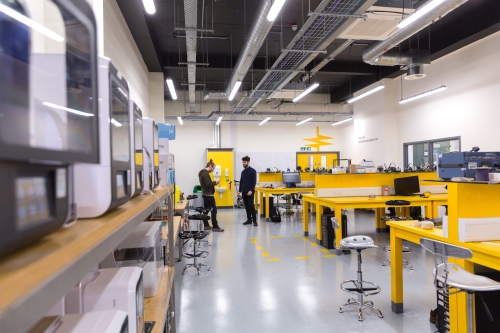
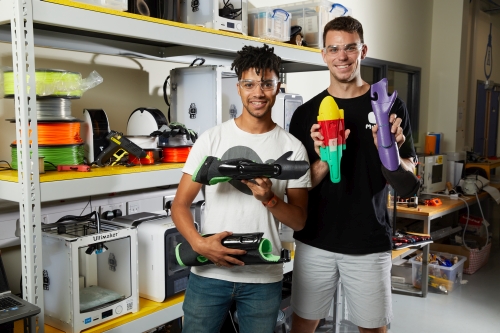
What I think has changed more recently with rapid prototyping is that now there are a lot more desktop tools available that weren’t before, such as 3D printing – there are incredibly accessible ways to build something much more complicated. There are a lot of community spaces out there (such as Advanced Hackspace!) where you can access laser cutters, a 3D printer, wood working, metal working tools, without needing to own them yourself. I think that’s made a huge difference in terms of what people can do by themselves and how far you can take your idea – how much more innovation it’s possible to do now.
It sounds like the democratisation of Hackspaces and being able to access tools has led to rapid prototyping?
I’d certainly say the maker movement has changed the way individuals do rapid prototyping. Thanks to developments like the Internet of Things and Open Source, many of us have access to everything at our fingertips, usually from our phones. That changes a lot about the way we can do prototyping as well – for instance, now you can connect with wireless to 3D printers which you couldn’t do ten years ago.
Once you’ve got your first prototype where do you go from there?
As I mentioned earlier, this is where you need to iterate and gradually improve your design. Give special attention to the user. Perhaps users don’t automatically understand by looking at your prototype how they are supposed to use it, maybe you need to adjust some settings… and that can sometimes look like you are failing each time. It can look to you that you’ve built something which the user doesn’t know how to use. Which might seem like a fail, but actually you learn a lot from that process and you can change your design from there. As you gradually make changes and improvements to your design, you are doing the opposite of failing really, even though it might feel like it some days.
You could get closer and closer to a working prototype and then realise you need to change something that means you are back to square one and you need to start over again. All of this is part of the design process. So, expect to fail and expect to feel disappointed but it’s still all progress and you are still learning huge amounts about your perfect design.
It sounds like the advice would be – don’t stop if you think you’re failing, you’re not!
Yes definitely! If you’re failing, you’re doing something right! My best tip would be to fail every day, just keep trying something out and learning something new. Everything that you are doing you will learn from. And if you aren’t sure about something go online, there are so many valuable resources online. Find a project that’s similar to what you want to do. A couple of my favourite sites are Instructables – you’ll find tutorials, videos and project builds, taking you through making step by step. And Hackster, they focus more on electronics stuff – quite complicated builds but really exciting and fun ones.
Hannah’s top tips for getting started with rapid prototyping:
- Get your ideas out of your head as soon as possible and start prototyping with simple materials that are easily accessible, such as cardboard, tape, Blu tac, Play Doh, and Lego for example.
- Iterate, iterate, iterate! Once your first prototype is out in the world, go through the process of refinement and iteration again and again while you gradually improve your design. Keep the end user in mind.
- Don’t be afraid to fail! Keep trying out new ideas and and you will learn something new each time. Expect to fail and expect to feel disappointed, this is part of the design process and is actually progress!
Bonus tip: Get down to Hackspace, meet some new people, learn some new skills and start making!
In conversation with Rebecca Covey, Hackspace Community and Marketing Manager.
More from Hackspace
Discover what’s going on at the Hackspace.
Read our success stories
Work with us